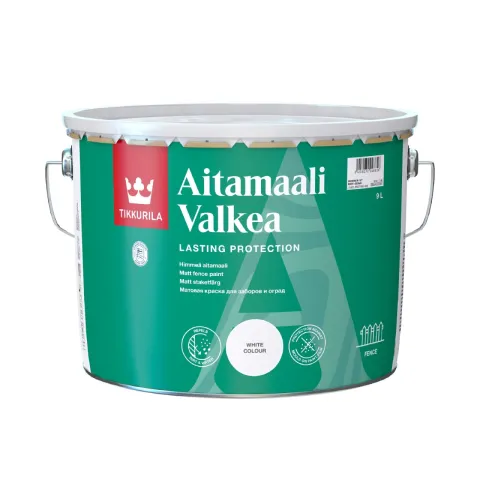
Aitamaali
Matt fence paint
Topcoat, Matt
A freshly painted fence can add new life to your property and protect your outdoor space from the weather. Whether you're updating an old fence or starting from scratch, here are some tips to make your project a success.

Choosing the right fence paint is essential for a successful painting project. A good quality fence paint will not only add colour and style to your fence but also provide long-lasting protection against the elements. When selecting your paint, it’s important to think about the type of wood your fence is made of and what the climate is like where you live.
We recommend using a paint specifically designed for outdoor use and suitable for wood. For example, our Aitamaali is a popular choice for fence painting because it’s a durable, dirt-repellent paint that stays clean even in harsh weather conditions. It's also water-borne, which makes it a more sustainable choice. The properties of the paint prevent the formation of mould on painted surfaces, which can be a common problem with wooden fences.
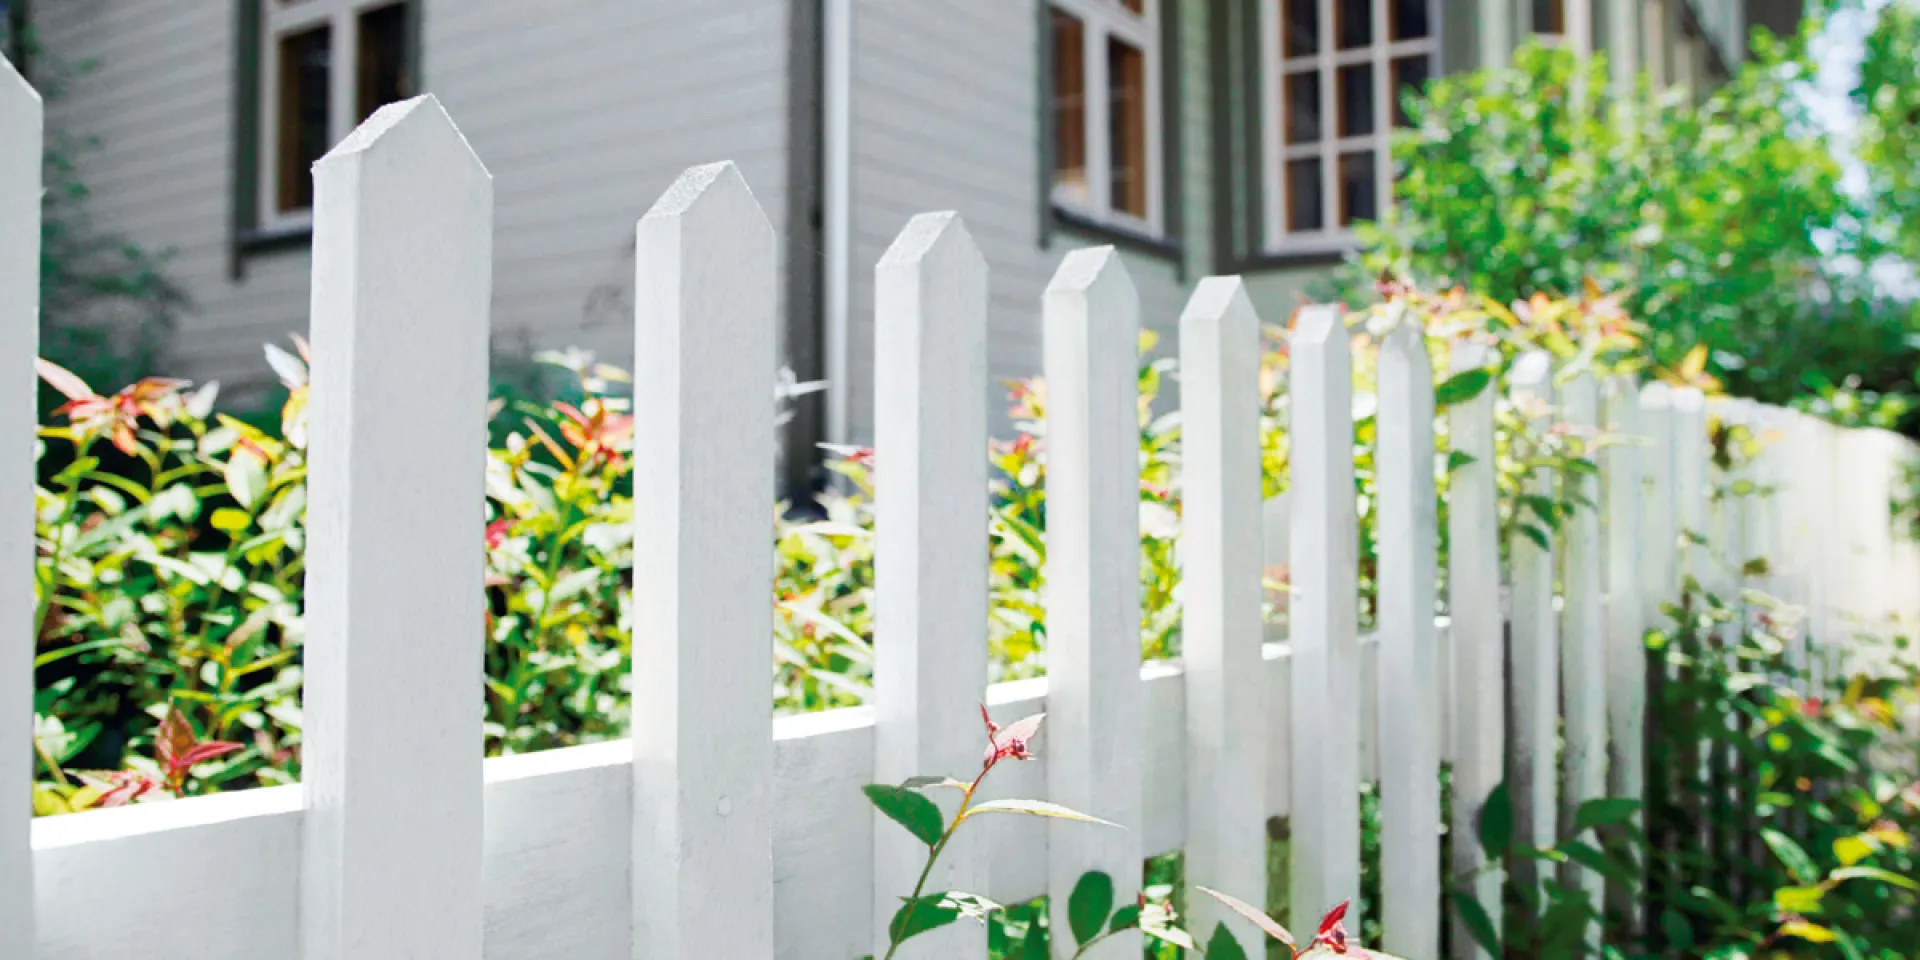
Also think about the level of sheen you want for your fence paint. A glossy finish will reflect more light and provide a vibrant, glossy finish that’s easy to clean, but this might not be the best choice if it’s a natural-looking fence you’re looking for. But a matte or satin finish gives a more natural, understated look and is better suited for wooden fences that blend in with the landscape.
Matching your fence paint colour to your house's exterior can be tricky but will ultimately give your property a cohesive look. When choosing your colour, remember that your fence's appearance, especially when at the front of your home, can be a part of the first impression that people get of your property. This can come into play when selling property, for example.
To choose the right colour, start by looking at the style and colours of your house's exterior. Try to match the colour of your fence to the primary colour of your house or choose a complementary or contrasting colour if you’re feeling confident. It's always a good idea to test the colour before applying it to your entire fence. You can do this by applying a small amount of paint on an inconspicuous spot on the fence or on a wooden board to see how it looks in different lighting conditions.
Proper surface preparation is critical to the success of any painting project, especially when it comes to outdoor fences. Before starting your fence painting project, you should clean your fence well to remove any dirt, debris, or previous coatings with Tikkurila Homeenpoisto. You can use a pressure washer to blast away dirt and grime, or a stiff-bristle brush to scrub the surface clean.
Once the fence is clean, allow it to dry completely before painting. This is important because painting a wet or damp fence can lead to uneven colour and adhesion issues. If your fence is not completely dry, fence paint will not stick properly and will peel off relatively quickly.
You’ll also need to repair any damaged areas of the fence before you start painting. Check for any loose boards, nails, or screws and fix them to ensure a smooth, even surface. This way, you’ll ensure that the paint adheres well to the surface, and that your finished product looks professional and even.
Cover any plants or flowers and garden furniture near your fence with a tarp to keep them safe from paint drips. This will help keep your garden looking its best during and after your painting project.

If you're painting a new fence, we recommend impregnating the surface first. This will protect the wood by making it insensitive to moisture, weathering, and contamination, and extend the life span of the wood. Impregnating before painting ensures your fence will look great for years to come.
Using a paintbrush will give you more control and allow you to get into tight corners and crevices. Choose a broader brush for larger areas of the fence, and a smaller brush for those hard-to-reach spots.

Depending on the condition of your fence and the type of paint you're using, you usually need to apply a second coat for full coverage, especially if you're changing fence paint colours. Use a primer before applying the top coat. Allow each coat to dry completely before applying the next one, and don't be afraid to add a few extra coats for extra protection.
Painting a fence is a great way to add colour and style to your outdoor space. With the right preparation and the right paint, you can create a beautiful, long-lasting fence that you can be proud of. Happy painting!
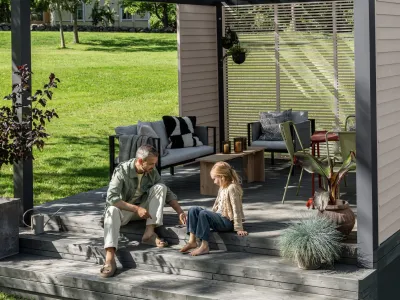
Find ideas and guidance for exterior paint makeover and care for your wooden deck, terrace, patio, fence, and patio furniture. Enhance your creativity with durable and eco-friendly decking products!
All you need to know about about wooden decking careYou’re visiting Tikkurila website from United Kingdom. Would you like to visit the local UK site?