Seinäpesu
Cleaning of interior walls before painting
Cleaning agent
Painting your interior walls is an easy and affordable way to refresh and update the look of your home.

Painting your walls can be fun and rewarding project, especially if you approach it with the right mindset. Whether you’re painting over walls that have already been painted or starting from scratch, you can achieve a professional-looking finish by following these easy steps.
A fresh coat of paint can breathe some new life into your room and transform it completely. Using good tools and quality paint can make a real difference to how your painting project turns out. Follow these easy steps to learn how to paint your interior wall like a Pro.

Remove furniture or other items that you don't want to get paint on or cover them with plastic or old sheets to protect them. Cover the floor with paint-proof paper to prevent wet paint from staining the floor. If electric sockets, light switches, and mouldings are going to stay in place, cover them carefully with good-quality masking tape. Remove masking tape immediately after painting.

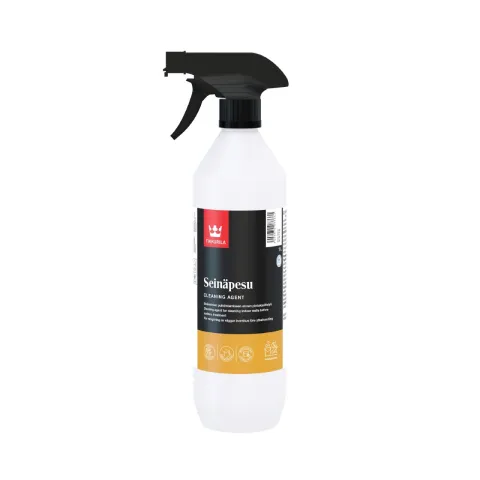
Cleaning your walls with wall cleaner is an essential part of the preparation. Washing will remove any dirt and grease from the surface and also wear the old paint surface, which ensures better grip for the new one. After wiping down the wall with a clean, damp cloth, rinse the wall for removing any cleaner residue. Make sure the walls are thoroughly rinsed and dried.

Check your wall for imperfections like holes and fix them up before you start painting. Any holes and scratches are easy to cover up using the special Holein1 caulk. Let the caulk dry, sand it to the surrounding surface, and wipe the dust off.
If the walls are in good condition and have already been painted, a primer may not be necessary. However, if the existing paint is in poor condition or is particularly glossy or slick, a primer may be helpful to improve the adhesion of the top coat.
By applying 1–2 coats of primer, you can ensure the top coat will stick to the wall and produce a smooth result. Stir the primer thoroughly before application. Start by lining the outer edges of your walls with primer. Then paint the walls with long strokes. Leave the primer to dry according to product instructions (usually overnight).
Stir the wall paint thoroughly before painting. First use a paintbrush or small paint roller to paint the corners and edges of mouldings. The places where the ceiling and the wall meet, or the corners of accent walls are, the easiest to mark with a marking tool or painter’s tape. Use a spirit level to make sure your tape is attached straight. Apply tape and paint only one wall at a time to prevent the edges from drying.
When you’ve finished painting around the corners and edges, you can start to paint the centre of the wall. Paint the wall with long strokes. Roll your roller back and forth from the floor to the ceiling and back, covering only a small strip at a time. Your roller should be covered in an even layer of paint, but not be dripping with paint. Immediately after painting, even the paint out by rolling directly up and down and overlap the freshly painted section while the paint is wet.
Some walls will need two (or even three) coats of paint. Wait until the first coat is dry before applying the second coat. The paint will need at least one day to dry so leave the paint to dry according to product instructions.


Which paint should you choose for your living room wall? Or which paint is the best choice for a bathroom and other wet spaces? Our product choosing guide will help you to choose the right products for your painting project.
Read more
Choosing colours for your interior walls, might be sometimes overwhelming. In this guide, we’ll explore ways to choose the right colour for your interior painting project.
Read moreYou’re visiting Tikkurila website from United Kingdom. Would you like to visit the local UK site?
Cleaning agent
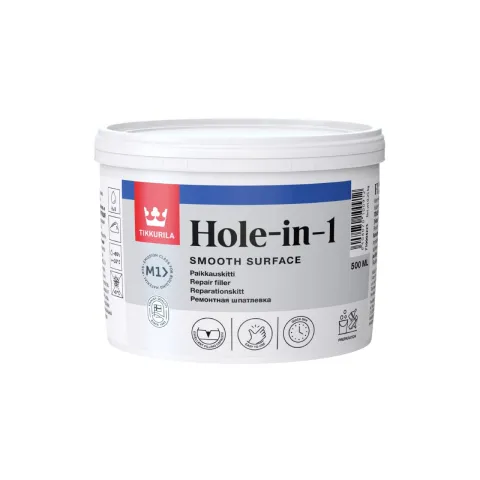
Filler
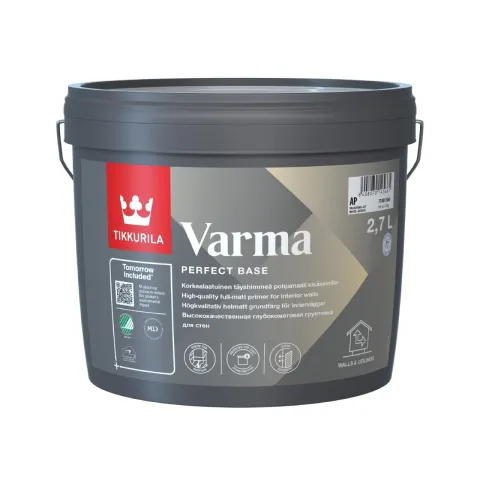
Primer, Full matt
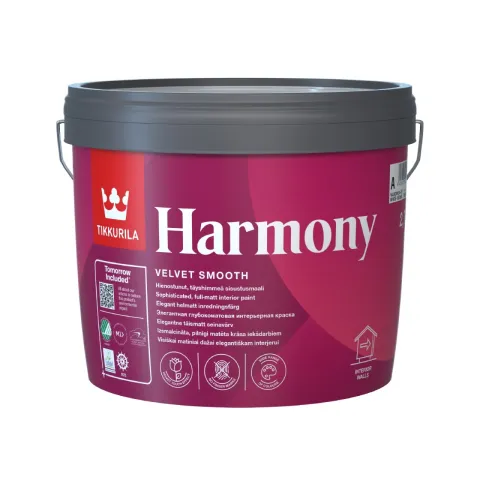
Topcoat, Full matt
Topcoat, Matt
Topcoat, Full matt