How to freshen up sauna with a new shade - sauna waxing

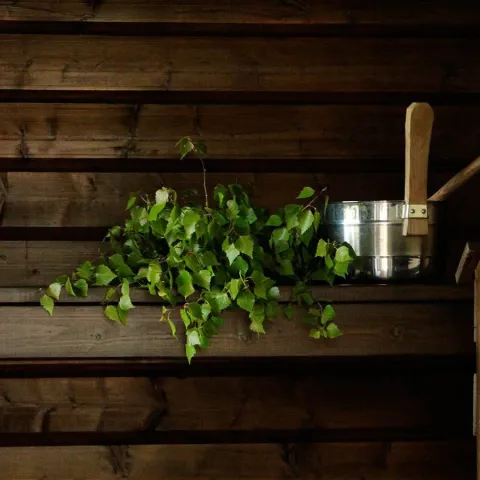
If your sauna with a more of a traditional look is in need of a little freshening up, the answer is tinted Supi Saunavaha wax. Waxing the benches and walls with a fresh translucent shade is an easy and affordable makeover you can complete in a weekend.

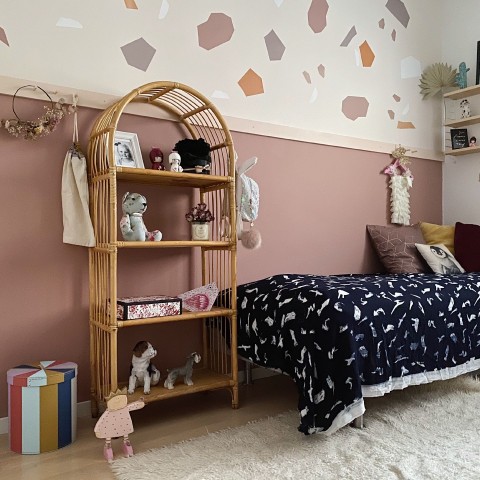
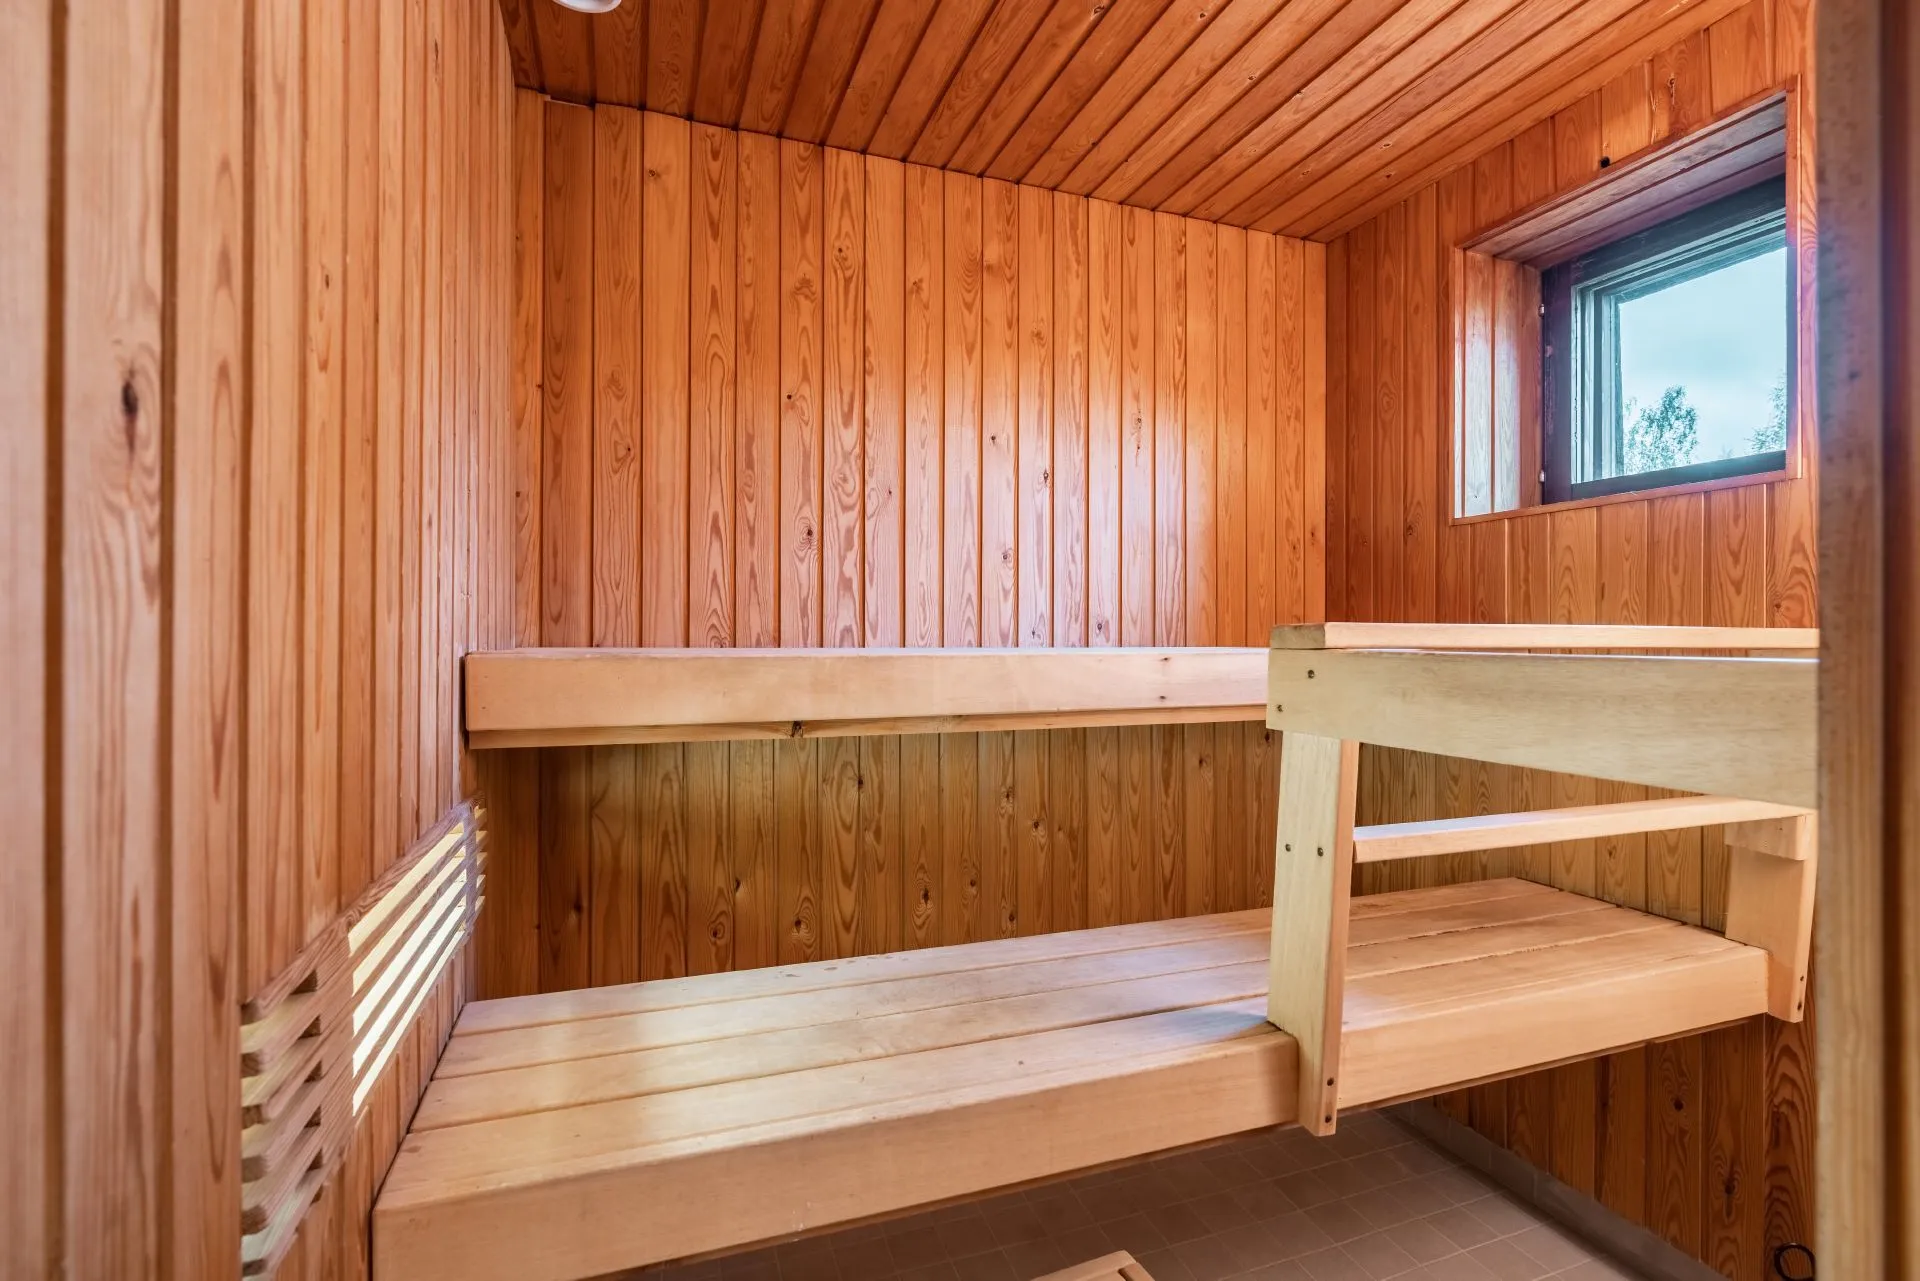
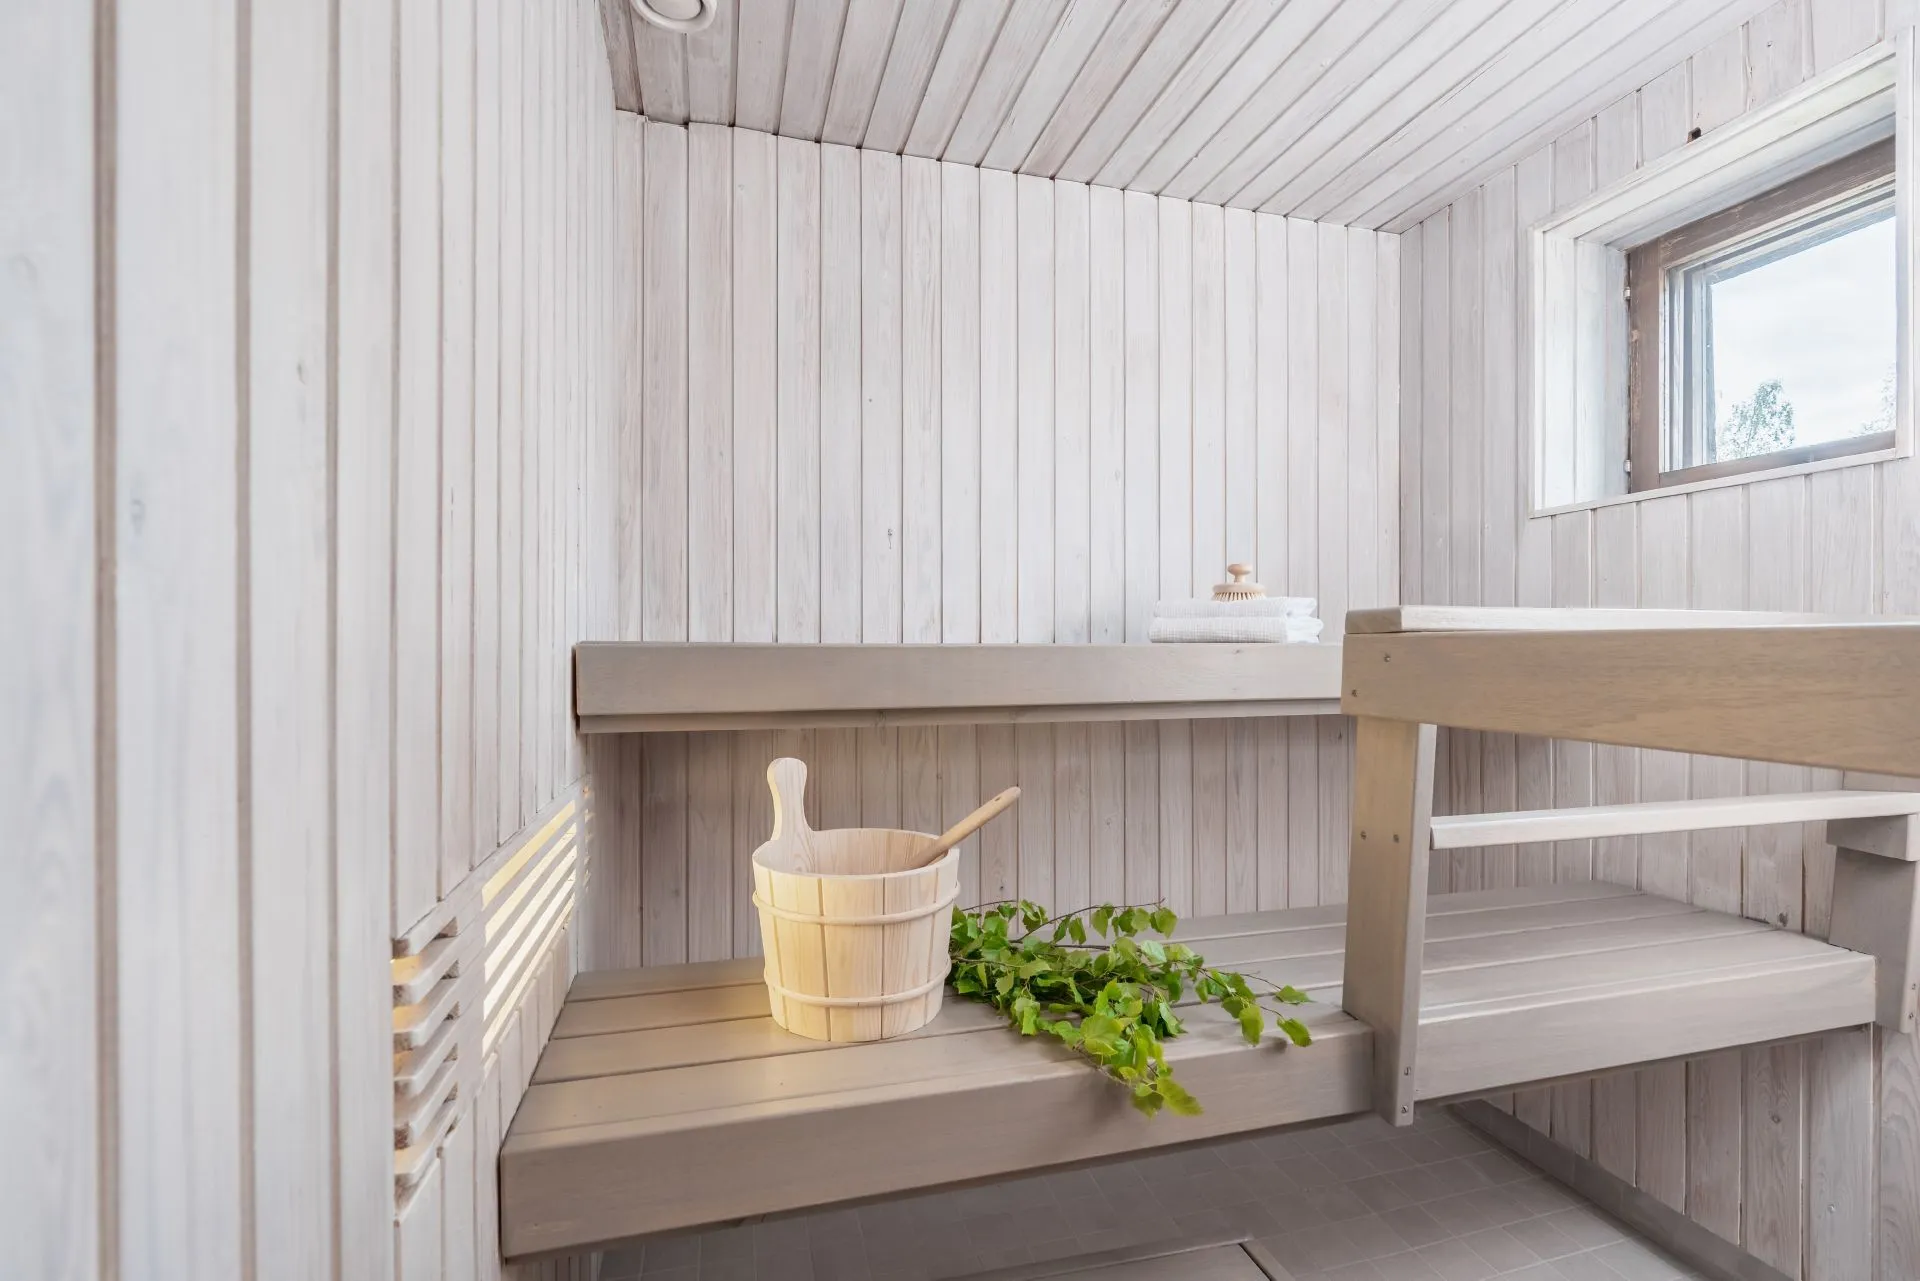
Before and after sauna wax makeover
What to consider when planning to wax the sauna?
The current colour of the wood on your sauna benches and walls defines how the end result will look. It is worthwhile to do a test round first: get a small can of Supi Saunavaha wax and apply the product on an undetectable spot, for example under the bench, to see how the colour appears. The colour will look a little different on different wooden surfaces. Usually the safest solution is to choose a shade that is darker than the original wood.
Supi Saunavaha wax is a waterborne protective finish that has three ready-made shades: black, white and grey. The product can also be tinted to any translucent shade from the Interior wood stains and lacquers colour card.
How to wax sauna surfaces
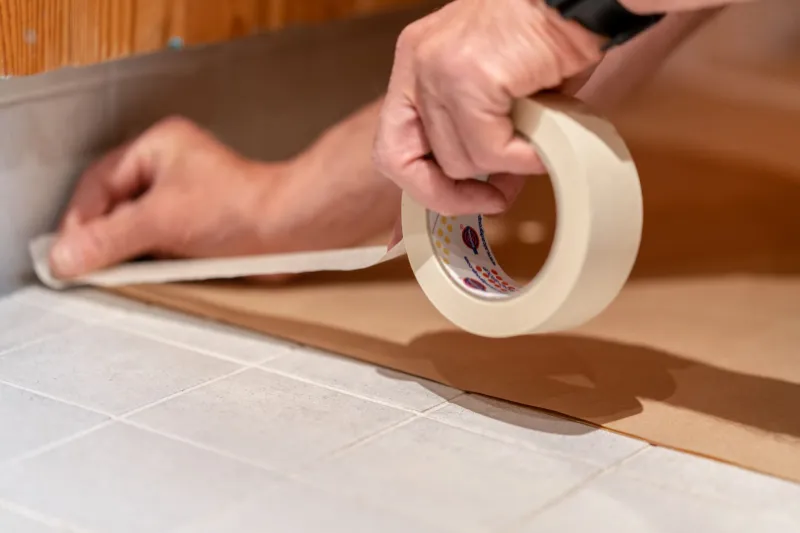
Make the preparations
Gather all your tools and materials: Supi Saunavaha, a brush, covering paper and masking tape for covering the floor. Cover the surrounding area. If the benches are detachable, it might be easier to treat them outside the sauna and treat the walls without benches in the way. You can also just leave the benches at their place, cover the benches with plastic and treat the walls first.
Test
Try Supi Saunavaha first on an undetectable spot to test, as wood colour might change the final painted colour result.
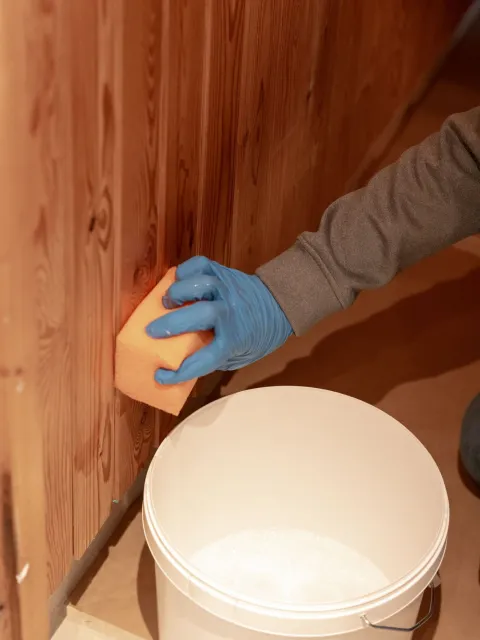
Cleaning and sanding
Wash the benches and walls using Supi Saunapesu. Use rubber gloves to protect your hands. Work with a scouring pad or a brush, especially if the surface has remains of a previous coating. Rinse all surfaces and let dry completely. Sand with fine sandpaper if there is small splinters come out of surfaces. Brush away all the sanding residue.
Important Note: If you are treating an old sauna where has collected more dirt, this cleaning process should be done beforehand. Cleaning thoroughly to remove all dirt from surfaces and heat up sauna properly. Let it dry up the day before waxing.
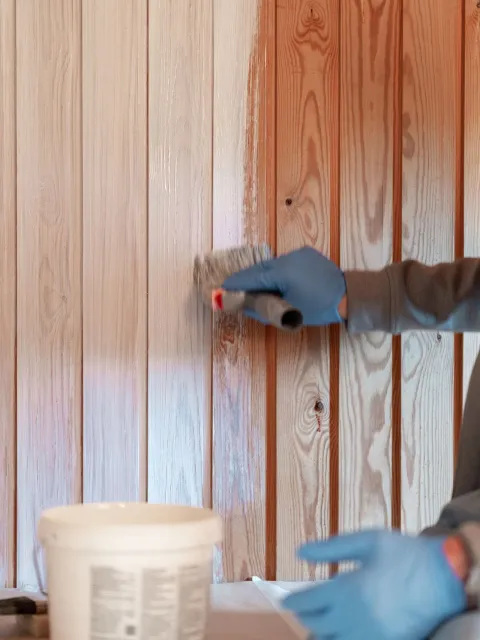
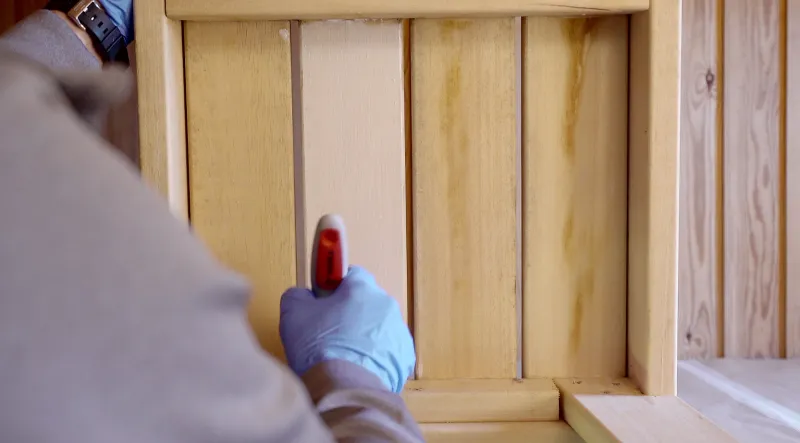
Wax
Wax the surfaces once with Supi Saunavaha. Use a brush or a sponge brush, work with long strokes in the direction of the grain, with one or two panels at the time.

Drying and repainting
Let the wax dry until the next day. If needed, apply another, moderate layer of wax. Try to avoid thick layers especially on the benches, since a thick foil of wax might make the benches feel hotter than usual when using the sauna.
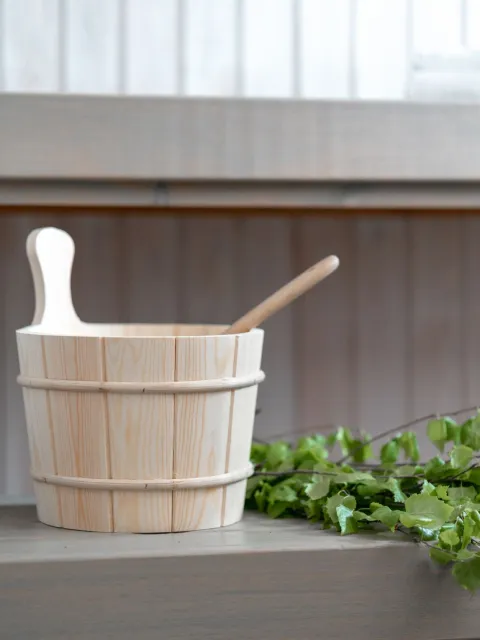
Enjoy
Heat up the sauna and enjoy!
The coloured wax will wear off over time, especially on lower benches. The treatment can be redone anytime with the same instructions as above.
Technical Advisor Mika Siirilä from Tikkurila was consulted for this article.