Tips for repainting wooden house

Wooden houses need attention and care from time to time. Exterior paint might last years and even a decade, but even a good paint work won’t last forever. It is good to plan repainting project already before the paint surface is at condition to crack, flake or look worn and faded. Here are some basic guidelines that will help you succeed.

Make sure you have basic exterior painting utensils. These will come in handy:
- quality brushes designed for painting exterior surfaces
-
paint
-
detergent
-
washing brush
-
some plastic or cardboard for covering the surfaces
-
masking tape
-
scraper
-
sandpaper
-
step ladder
Find the right exterior paint
Start by figuring out what is the current paint on your house: water- or solventborne, opaque or translucent? Do you know the exact shade? The easiest way to go is to use the same paint and shade as before, or something fairly similar. For example, on a waterborne acrylate paint you can only use waterborne paint, not solvent based paint. On solvent based paint you can use both.
When figuring out the right colour for exterior paint, do yourself a favour by testing the colour in action – after that there should be no guesswork. Paint for example a piece of wooden panel or a board and try how it looks leaning on the wall you are planning to paint. The colour will always look a little different depending on the hour of the day, season or the direction on which the wall is facing.
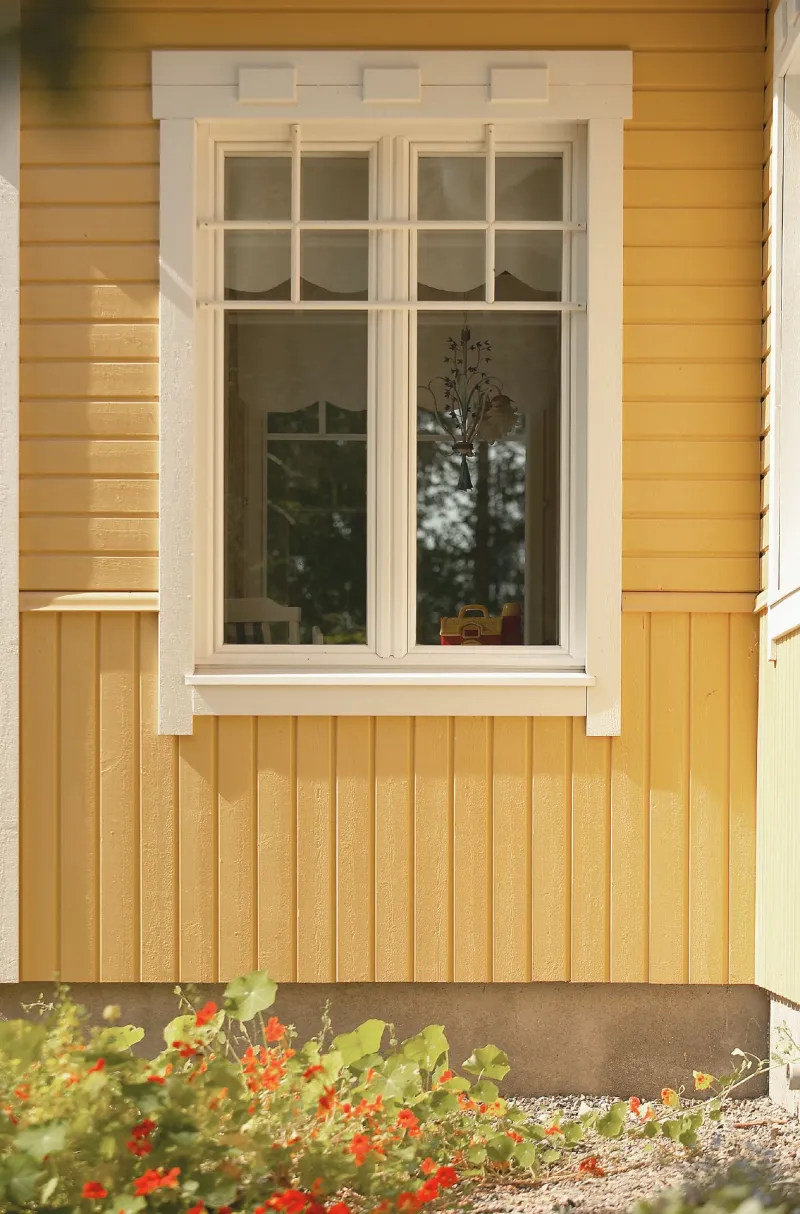
A rule of thumb when changing the colour is to go with the same shade or to choose something darker. Especially in translucent finishes the underlying colour will affect the outcome.
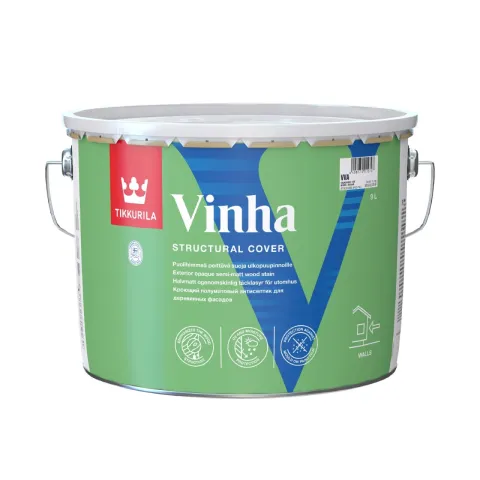
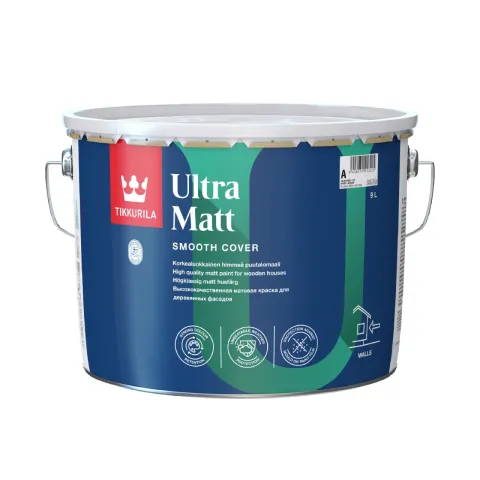
If you’re looking for an opaque look and a good weather resistance, Ultra Matt and Ultra Classic are good choices, and they are safe choices whether the previous paint is water-borne or oil-based paint. Elastic and durable Ultra-paints don’t flake. Vinha is an opaque and semi-matt structural cover, which is also suitable for walls previously treated with acrylic paint, oil paint or translucent wood finish. Durable Vinha is a little lighter in consistency than Ultra, so it’s excellent for maintenance painting. Even though Vinha has an opaque finish, it leaves the grain of the wood beautifully visible.

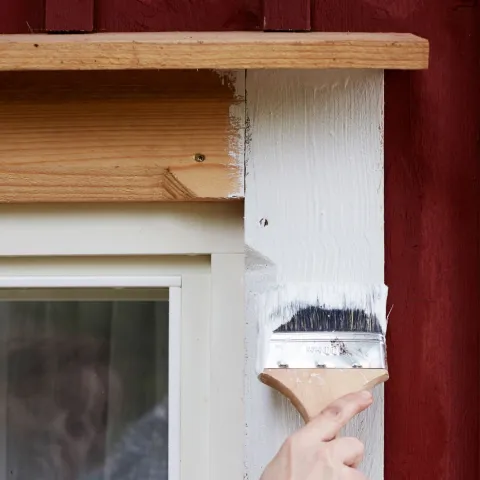
Paintwork starts with the basics
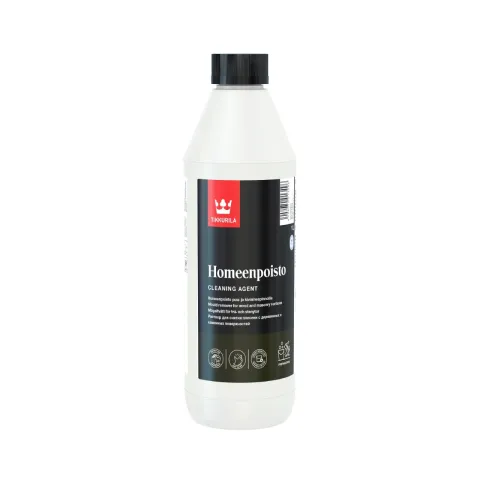
Start the painting project by washing the walls. Use mold removing detergent Tikkurila Homeenpoisto, which besides cleaning also roughens the surface and helps the new layer of paint absorb thoroughly into the wood. A brush with an extension pole is a handy tool when washing big surfaces. Make sure to get all the dirt and dust off. Let the walls dry thoroughly.
Take a good look on the walls: are there any spots of paint flaking or detaching? Use a scraper to remove the flaky paint and sand the walls with sandpaper.
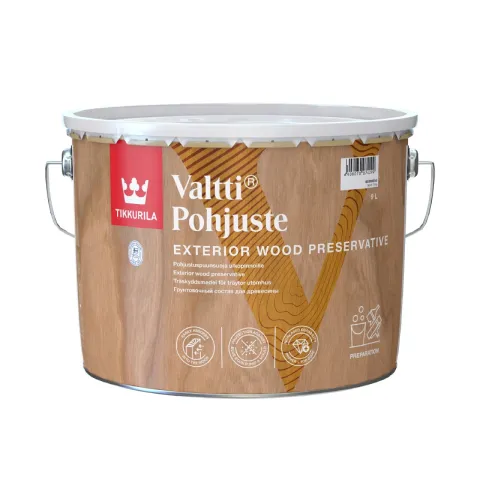
Use Valtti Pohjuste as a primer to treat the surfaces where all the old paint is sanded off. It will absorb into wood and slow down the effects of humidity and block the spread of bluestain.
Cover the window frames, socles and other surfaces you want to protect.

Ready to paint!
An important thing to remember before starting is to check the weather forecast. The best weather to paint is cloudy, not too cold nor too hot. Make sure there isn’t a sudden rain coming and avoid painting in direct sunlight.
Now, you’re good to go: mix the paint carefully before and during the painting. Apply paint with a brush starting from the top and painting horizontally one small section at a time. Let it dry and apply another layer of paint, if needed.