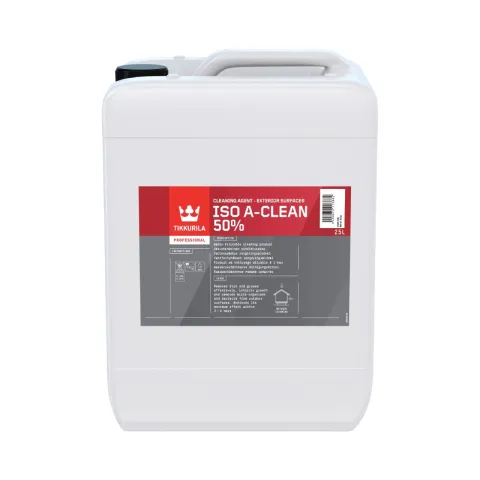
Iso A-Clean
Cleaning agent
How to repaint a concrete or mineral roof

Time takes its toll on wooden buildings. Sunlight, rain, snow and other factors can all lead to walls and roofs looking tired and dirty. One beautiful wooden house from 1928 was recently made to look as good as new after being repainted with Tikkurila products. Before painting, the façade was faded and the roof was black with dirt – now the house has been restored to its former glory.

Tikkurila Ultra Classic is a high-quality semi-matt paint for wooden buildings. It is ideal for both new and previously treated surfaces, forming a protective paint film that defends against mould to make the surface extra durable. Ultra Classic was seen as the best choice to repaint this house as it is a sustainable solution that has been extensively tested in harsh weather conditions.
Two coats of Ultra Classic were applied to the façade and window frames in similar shades to the existing colours. The chosen façade colour was Q882 from the Façade 760 color collection, while RAL 9010 Pure White was chosen for the window frames and other wooden decorative elements.
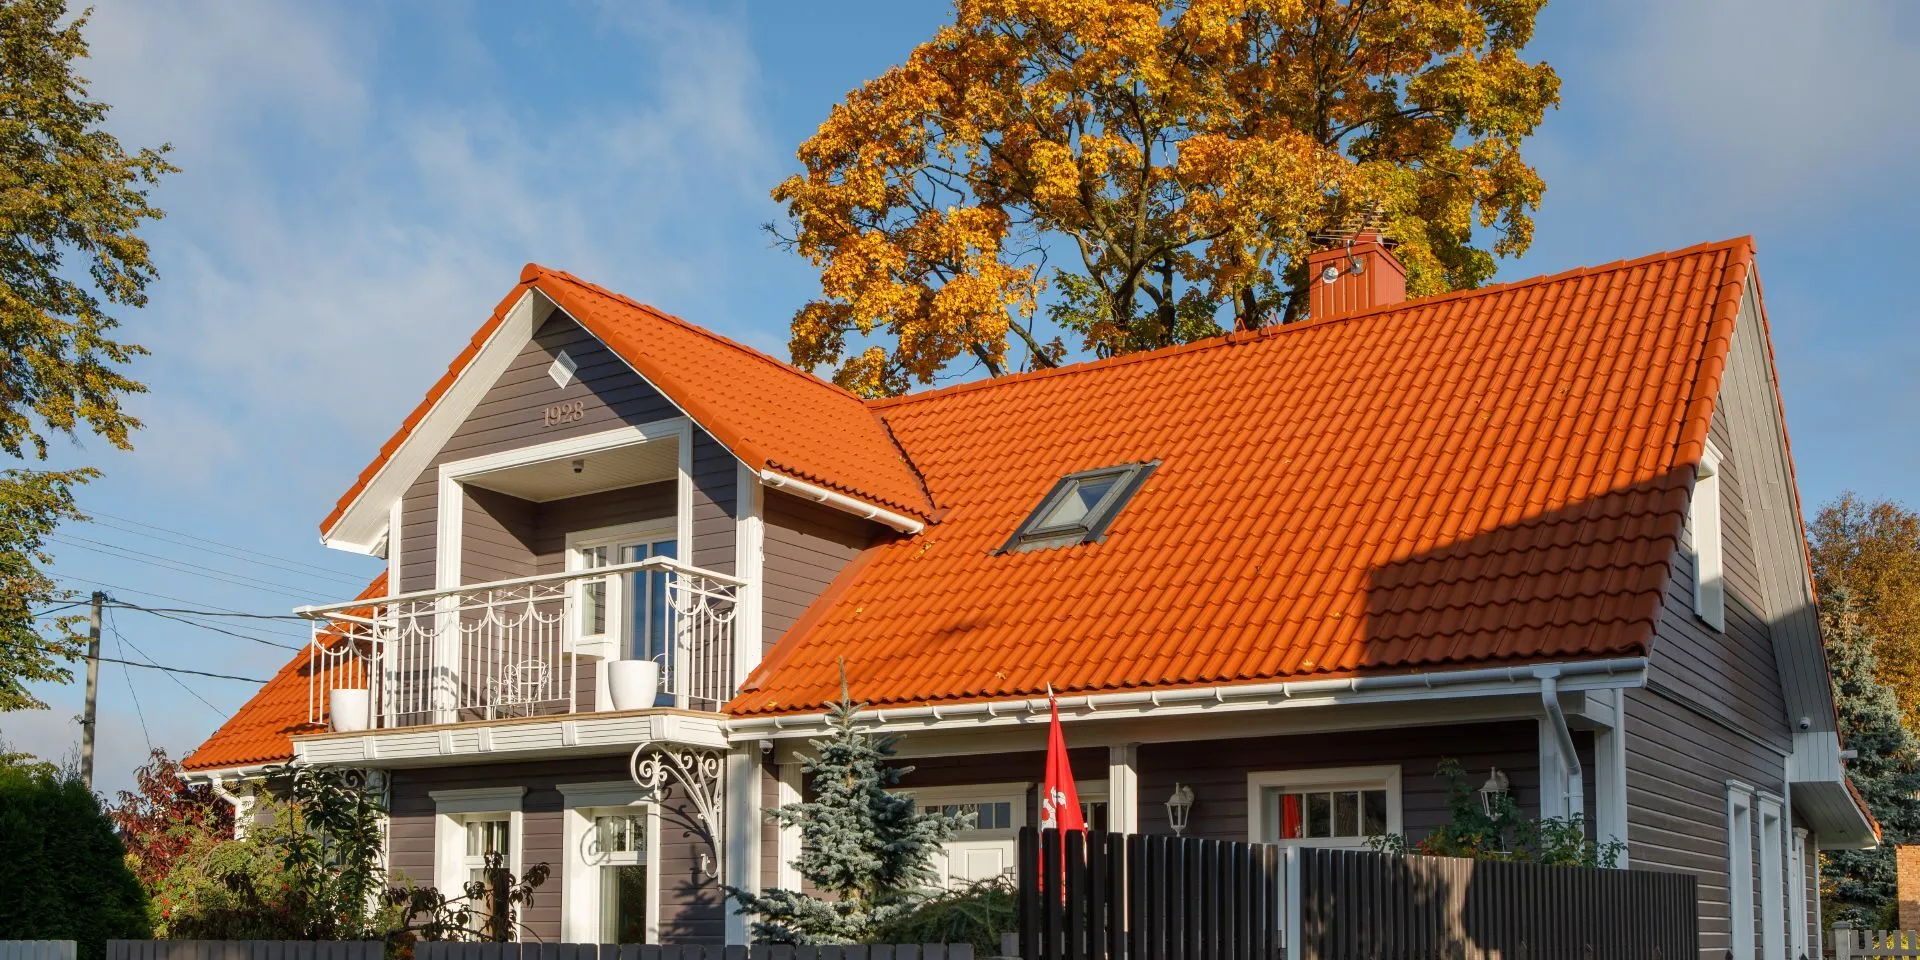
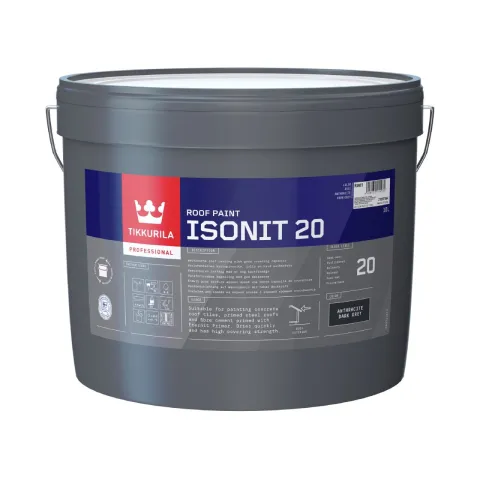
The roof is the most exposed part of any building and therefore the most important part to protect and maintain. Tikkurila products offer a smart and cost-efficient way to extend the lifespan of a roof. Repainting is an excellent alternative to replacing a whole roof when the structure is in good condition but the surface protection needs renewing. The roof of the nearly 100-year-old house was repainted using Tikkurila Isonit 20, following the steps below.
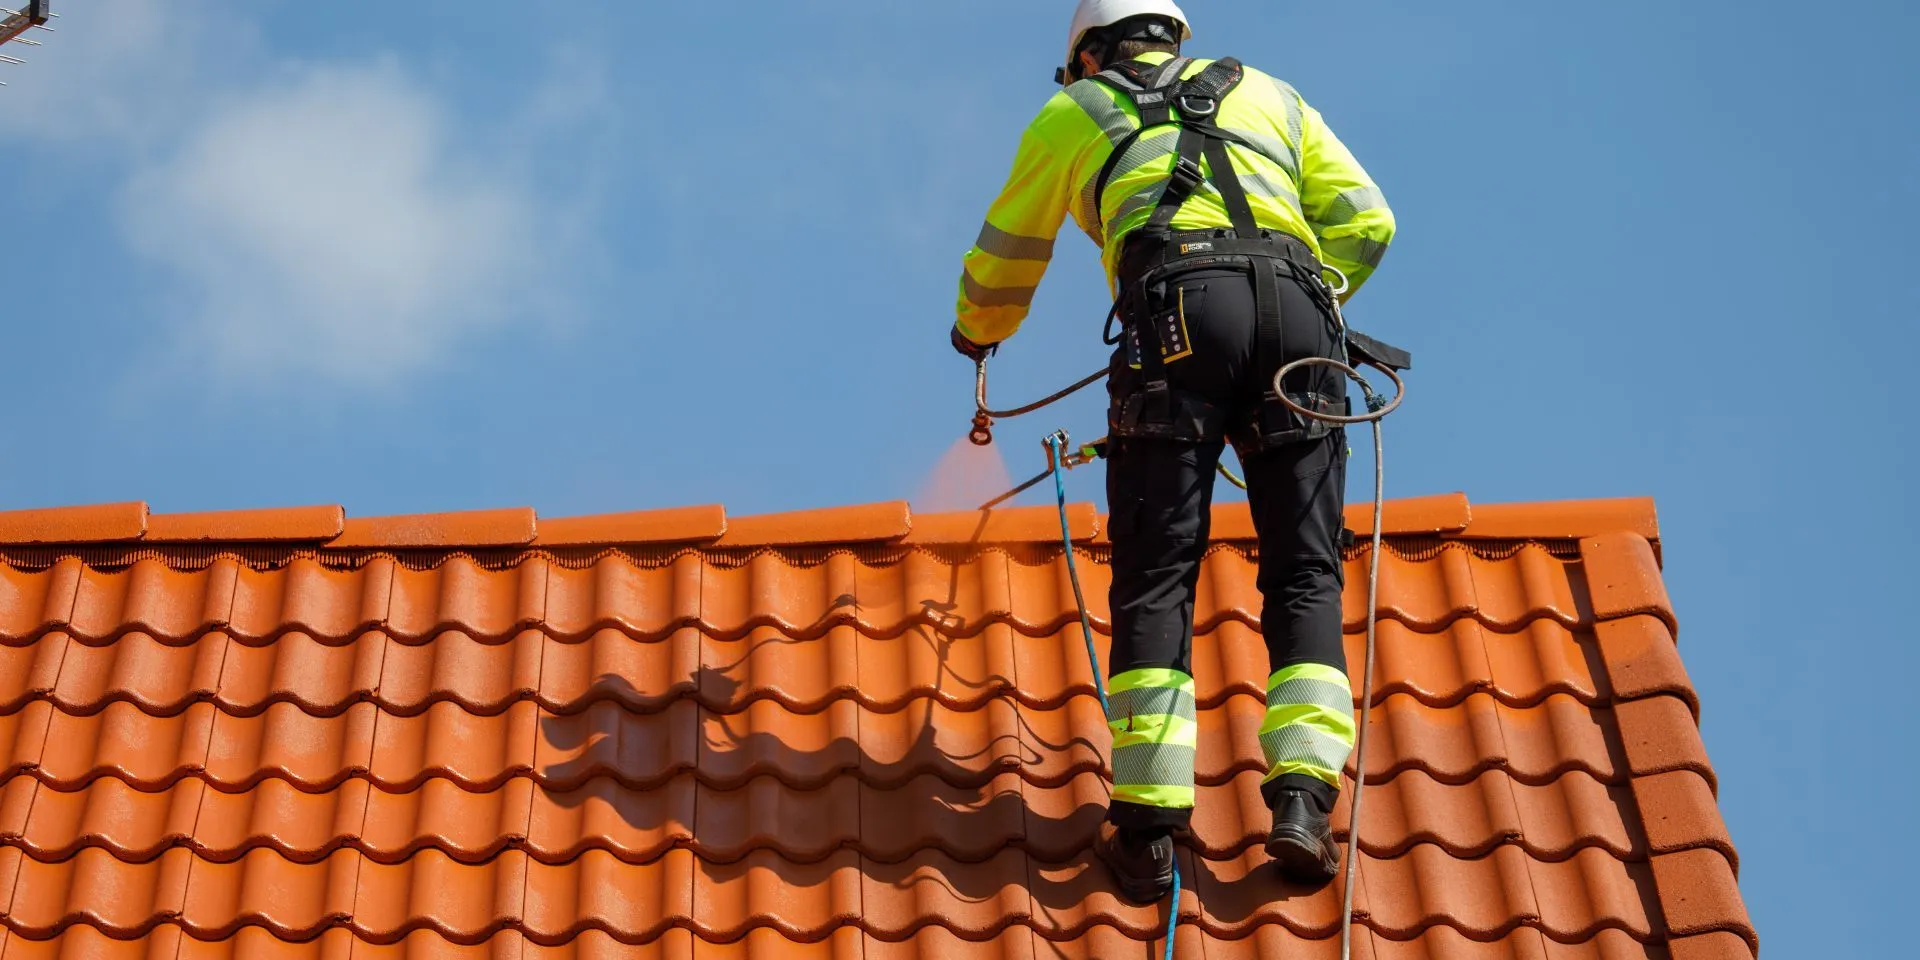
All roofs need protection against rain, sleet, snow, sun and other factors. For the best possible performance, paint in the perfect weather conditions:
- Cloudy and dry with no wind
- Temperature: 8–30°C
- Relative humidity: less than 85%

Protect your surroundings to avoid spillages into drains, water systems or soil during painting.

Clean the roof thoroughly using water and a high-pressure washer. Then use a low-pressure sprayer with Iso A-Clean cleaning agent, following the product instructions. Leave the cleaning agent on the roof until it reaches the deeper lichen filaments (3–4 days). There is no need to rinse the roof.

Mix the paint before use.
Paint the roof from top to bottom.
To ensure the optimum thickness, apply the Isonit 20 paint in two coats.
For the first coat: dilute paint up to 20% water by volume. Paint the ridge of the roof with a roller or brush. Continue painting using a sprayer – the wet thickness should be ~200 µm, coverage ~5 m²/1 l. The nozzle size: 0.019–0.021” with a pressure of 180–22

Allow 2–4 hours drying time before applying the next coat (at 20°C; RH 65%).
For the second coat: paint should be applied undiluted. The wet thickness should be ~200 µm, coverage ~5 m²/1l.
• Choose the paint according to the roof substrate.
• Always make a test coat to ensure the compatibility of product and surface.
• Follow the sun and avoid painting a roof that is exposed to direct sunlight.
• Follow the provided safety instructions and wear appropriate protective equipment.
Coverage: 2–3 m²/l (2 coats), 200 m² tiles = 100 l paint.
Colour: R009 Tile red


You’re visiting Tikkurila website from United Kingdom. Would you like to visit the local UK site?